|
PartyPreOrders Help Manual
6
How to Retrieve & Print-Out Your Online
Pre-Order Bookings
a.
Navigate to your customer’s pre-order or date in question, see below
image:
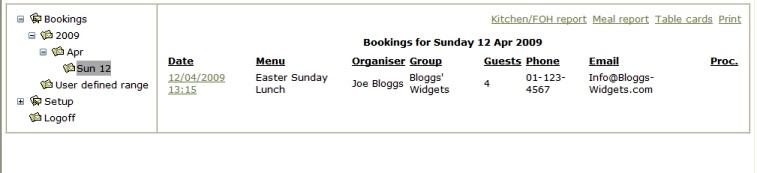
[Image No.10]
b.
To print-out a single / whole day’s / months output of pre-orders, then
highlight the appropriate date(s) on the left hand side (as above image), then if you
click:
a.
KITCHEN/FOH
(Front of House), you are taken to a screen which will show you a page(s) of
meal summaries for each individual pre-order party, which can be printed out
for both your waiting staff, as well as acting as your kitchen order. [N.B
When printed, the parties are arranged vertically (see image below), which
will allow you to cut/guillotine your A4 printouts in half, for more
convenient use by your kitchen.]
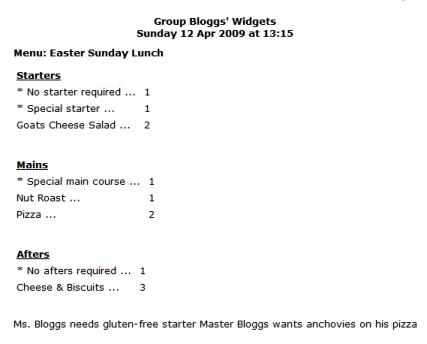
[Image No.12]
To toggle your report layout to become horizontal, then click on ‘Report
Layout’ or to return to vertical layout click on ‘Kitchen/FOH Report’.
b.
MEAL REPORT
– To return to the above screen click on the date in question on the left
hand side, then click ‘Meal Report’. This option will give you a summary of
orders for the whole day, and can also be ‘sorted by popularity’ (see below
image). This summary will help your kitchen’s ordering and help prevent
waste through over-ordering or preparation.
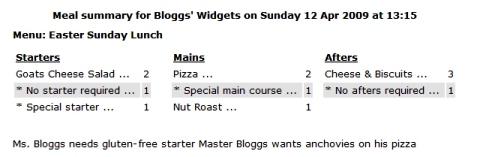
[Image No.13]
c.
TABLE CARDS
- No need to laboriously write out your individual diner’s table cards by
hand! Return to the date in question, by choosing it from the left hand side
and then click on ‘Table Cards’ to create printable Adobe ‘PDF’ pages. [N.B
Your computer need to have Adobe Reader Installed – which can be obtained
as a free download from Adobe -
http://www.adobe.com/products/reader/ ]
-
TENT
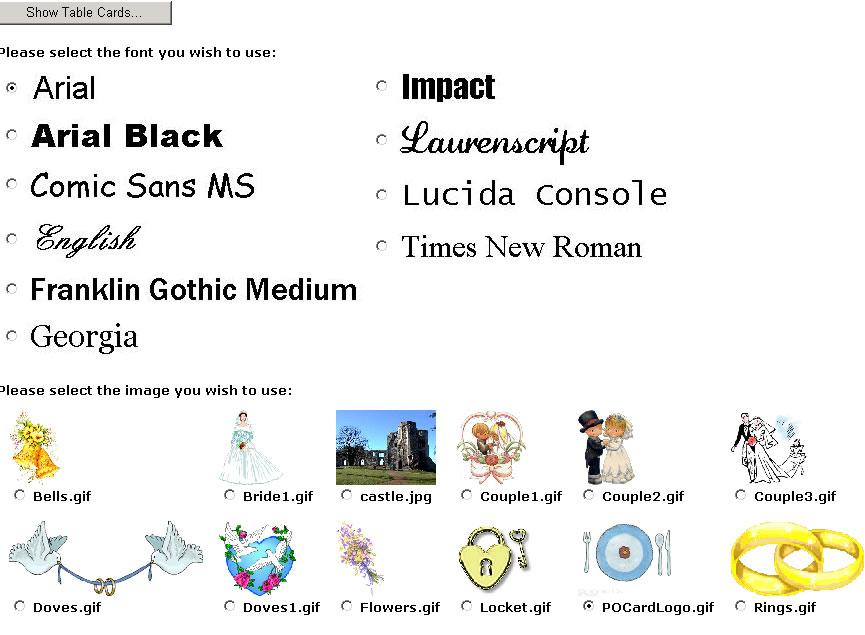
CARD FONT - A separate window will open
similar to as shown below, allowing you to choose your font. Arial is
selected as the default font (as it is easiest to read over diners'
shoulders from afar, by waiting staff), but you may prefer to select
a hand-writing script for wedding receptions for example.
-
TENT
CARD PICTURE / LOGO - You can also select your choice of
personalised photo, clipart or logo for the back of the card.
These images are taken from your own image library (as well as
including some stock clipart images of our own), which can be found
under 'Setup' on the Left Hand Side navigation menu and where you
can upload your own images to our server. [These images can be up to
about 50kb in size and can be either JPG, GIF or any Bitmap in
format and will be automatically resized and inverted ready to
print. For more details, please see section 2 of our main help page:
How
to Create Your First Menu – Part 1 - Populating Your Menu ‘Library’ with
Course Items (& upload images)]
:
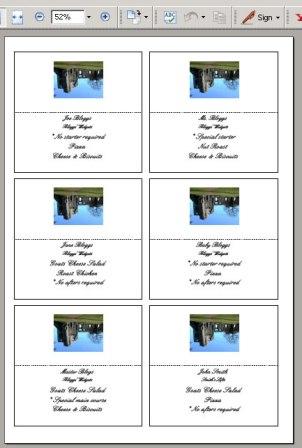
After
'clicking on the 'Show Table Cards' button above, our server will take up to
about a minute to generate your requested table cards, similar to the images
below, with six tent cards being printed per A4 page. [In this example, a
photo has been used, previously uploaded into our sample image library, to
show you that the options to personalise are almost boundless....]
[Image No.14]
You can
either print out on sheets of A4 card or paper weight of your choice (6
individual tent cards per sheet) and on either white or coloured paper;
finally guillotine them into individual cards and fold in half for later
table use.
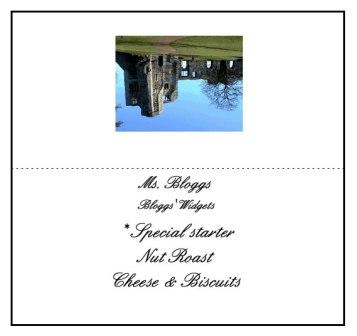
Alternatively, you might prefer
printing on our pre-perforated paper, which you will be able to easily
and more quickly separate each individual ‘Table Card’ and fold it in half, so as to make
individual ‘tent cards’, which can be put away safely for later use…
In the image above of an individual tent card, you will note the importance
of description of library courses, as this information is printed out, along
with the diner’s name and the party’s ‘group of office name’:
|